VPN SETUP GUIDES
QR Code Setup: Add WireGuard Clients in Seconds
Adding a new phone or tablet to your home VPN shouldn't require typing cryptographic keys by hand, and it doesn't. WireGuard QR code setup turns a…
✓Generating a QR code for a client✓Scanning with the WireGuard mobile✓When QR beats manual file import
Quick Answer
To add a device, generate a new peer on your VPN server, display its QR code, and scan it from the WireGuard mobile app: tap plus, choose “Scan from QR code,” point the camera, done in under thirty seconds. Treat each code like a password. HomeIPVPN provisions every client with its own keys.
- What it encodes: the full client config, private key, tunnel IP, server key, endpoint, DNS, and allowed IPs.
- Never reuse: one config on two devices causes conflicts that knock each other offline.
- Keep it secret: scan in person and never leave codes sitting in your camera roll.
- Desktops differ: the desktop apps cannot scan, so import the .conf file instead.
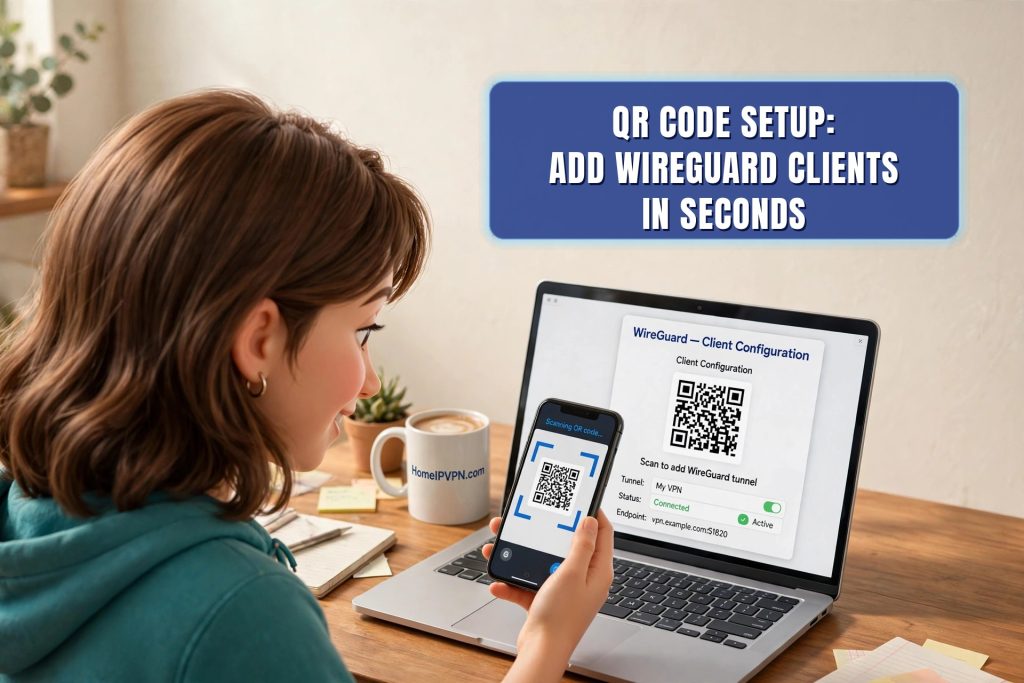
Adding a new phone or tablet to your home VPN shouldn't require typing cryptographic keys by hand, and it doesn't. WireGuard QR code setup turns a fiddly manual process into a five-second camera scan. Whether you're onboarding your own devices or setting up family members, here's how QR provisioning works, how to generate and scan codes, and when QR beats the alternatives.
Generating a QR code for a client config
A WireGuard QR code is simply the client's entire configuration file encoded as an image. Everything the client needs is inside: its private key, its tunnel IP address, the server's public key, the endpoint hostname and port, DNS settings, and allowed IPs.
On a GL.iNet router running a WireGuard server: open the admin panel, go to the WireGuard server section, and add a new client. The router generates the keypair and config automatically, then shows a QR code on screen alongside a downloadable config file. This is the easiest path: no command line, no manual key handling.
On a Linux server: after creating the client's config file, you can render it as a QR code with a QR generation tool. The standard approach pipes the config file into a QR encoder and displays it in the terminal or saves it as an image. Many server admins keep this as a one-liner for onboarding new devices.
Important: generate a fresh peer config for each device. The QR code contains that client's private key. Reusing one code on two phones means two devices sharing one identity, which causes connection conflicts. One device, one QR code, one peer entry on the server.
Treat the QR code like a password. Anyone who photographs it gains full VPN access as that peer. Display it on your own screen, scan it directly, and don't send screenshots of QR codes through unencrypted channels or leave them sitting in your camera roll longer than necessary.
Scanning with the WireGuard mobile app
The official WireGuard apps on iOS and Android both support QR import:
- Install the WireGuard app from the App Store or Play Store.
- Open the app and tap the + button (bottom-right on Android, top-right on iOS).
- Choose "Scan from QR code" (wording varies slightly by platform: "Create from QR code").
- Grant camera permission if asked, then point the camera at the QR code on your server/router screen.
- The app shows the imported tunnel. Give it a recognizable name like "Home VPN".
- Toggle the tunnel on. Confirm it connects and that your public IP now shows your home address.
That's the whole flow: typically under thirty seconds from scan to connected tunnel. If the scan fails, check that the QR code is fully visible on screen (zoom the browser if the code renders small), the screen brightness is up, and the camera lens is clean.
On desktop (Windows/macOS/Linux): the WireGuard apps don't scan QR codes. Import the config file instead. When you generate a client on the server, download the .conf file and import it via "Import tunnel(s) from file." Same config, different delivery.
When QR beats manual file import
QR wins for phones and tablets. Typing a 44-character base64 key on a phone keyboard is an invitation to typos; a camera scan eliminates them. It's also the fastest way to onboard someone else's device in person: they scan your screen, and they're done.
QR wins for non-technical family members. "Open the app, tap plus, point at my screen" is a support call you can give in one sentence. Emailing config files and explaining import dialogs is not.
File import wins for desktops and remote onboarding. You can't scan a screen you can't see, so for your own laptop or a family member in another city, the config file (sent securely) is the right vehicle. Files are also better for backup. Store them encrypted, not as QR screenshots.
Manual entry wins never. There is no good reason to hand-type WireGuard keys in 2026. If a guide tells you to, find a better guide.
| Method | Best for | Watch out for |
|---|---|---|
| QR scan | Phones/tablets, in-person onboarding | Code = full access; don't share screenshots |
| Config file import | Desktops, remote onboarding | Send securely, store encrypted |
| Manual typing | Nothing, avoid | Typos in keys fail silently |
FAQ
Is the QR code the same as the config file?
.conf file. Same keys, same settings, same tunnel.Can I reuse one QR code on multiple devices?
The QR scan fails. What should I check?
Is it safe to send a QR code screenshot by message?
Do I need internet on the phone to scan the QR?
Can I print QR codes for backup?
Need help setting this up?
Onboarding every family device by hand gets old fast. Our done-for-you setup provisions all your clients for you, phones, laptops, travel router, each with its own keys, and verifies every one connects. Hand us the boring part: https://homeipvpn.com.