ROUTER SETUP
The Complete Dual-Router Home IP VPN Setup Walkthrough
The most reliable way to carry your home IP address around the world is a dual router home VPN setup: one router at home acting as the VPN server, and one…
✓Architecture Overview: Home Server✓Phase 1: The Home Router Server✓Phase 2: The Travel Router Client
Quick Answer
The most reliable way to carry your home IP worldwide is a dual-router setup: one router at home as the WireGuard server, one pocket-sized travel router in your bag as the client. Phase one builds the server with DDNS and port forwarding; phase two configures the client with a kill switch.
- Home server: Enable the WireGuard server, set up DDNS, forward UDP 51820; on CGNAT use a relay or VPS hop instead.
- Travel client: Load the profile, enable “Block non-VPN traffic,” and route DNS through the tunnel.
- The payoff: One tunnel protects everything, including smart TVs that cannot run VPN apps, and one captive-portal login covers all devices.
- Verify: Run IP, DNS leak, WebRTC, and kill-switch tests first, or let HomeIPVPN build, verify, and document the whole thing.
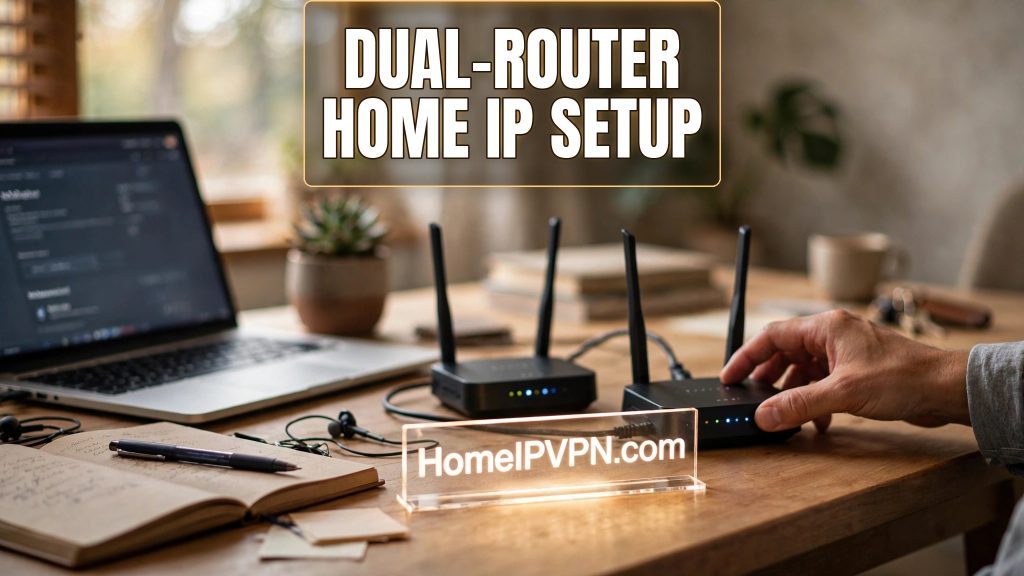
The Complete Dual-Router Home IP VPN Setup Walkthrough
The most reliable way to carry your home IP address around the world is a dual router home VPN setup: one router at home acting as the VPN server, and one travel router in your bag acting as the VPN client. Every device you connect to the travel router, laptop, phone, tablet, automatically exits through your home internet. This walkthrough covers the full architecture and both phases of setup.
Architecture Overview: Home Server + Travel Client
Here's the full picture before we touch any settings:
[Your laptop/phone] → [Travel router (hotel Wi-Fi)]
        → encrypted WireGuard tunnel → [Home router (VPN server)]
→ [Your home ISP] → Internet- Home side: A router that stays powered on at home, running a WireGuard server. It needs a port forwarded from your ISP router and a DDNS hostname (since most home IPs change periodically).
- Travel side: A pocket-sized travel router. It joins whatever Wi-Fi is available (hotel, Airbnb, coworking), brings up the WireGuard tunnel back home, and shares one protected network with all your devices.
- Result: Every site and service you use sees your home IP address. Your hotel sees only encrypted traffic to your home.
This design has two big advantages over running VPN apps on each device: one tunnel protects everything (including devices that can't run VPN software, like smart TVs and streaming sticks), and one captive-portal login on the router covers all your devices.
Phase 1: The Home Router Server
Step 1, Choose and place the server router
Pick a router that can run a WireGuard server and stay on 24/7. Good options include GL.iNet's Flint 2 or a small OpenWrt-capable device. Place it somewhere with ventilation, connected via Ethernet to your main ISP router for stability. A small UPS is a worthwhile add-on, it rides out the short power blips that would otherwise drop your tunnel while you're abroad.
Step 2, Enable the WireGuard server
On GL.iNet firmware: open the admin panel → VPN → WireGuard Server → generate the server configuration. The router creates its key pair and gives you the server's public key, listen port (default UDP 51820), and tunnel address range. On plain OpenWrt, install the luci-proto-wireguard packages and configure the interface similarly.
Step 3, Set up DDNS
Your home IP will change, that's normal. DDNS keeps a hostname (like myhome.glddns.com) always pointing at the current IP:
- GL.iNet routers have built-in DDNS, enable it in the admin panel and note the hostname.
- Alternatively, use a third-party DDNS provider and run its updater on the router.
- Your travel router's client config will point at this hostname, not a raw IP, so it keeps working after every IP change.
Step 4, Forward the port on your main ISP router
This is the step that trips up most people. Your ISP's modem/router must forward UDP port 51820 to the LAN IP of your VPN server router:
- Log in to your ISP router's admin page.
- Find Port Forwarding (sometimes under NAT or Firewall).
- Create a rule: external port 51820, protocol UDP, internal IP = your VPN router, internal port 51820.
- Save and reboot the ISP router if required.
CGNAT warning: If your ISP uses carrier-grade NAT, inbound port forwarding won't work at all, your router has no public IP to receive on. Check your router's WAN IP against an IP-check site; if they differ, you're behind CGNAT and need a workaround (relay service, VPS hop, or an ISP plan with a public IP).
Step 5, Create client configs
Generate one client profile per travel device (travel router, phone, laptop). Each gets a unique key pair and tunnel IP. Export them as .conf files and QR codes, and store them somewhere safe, anyone with a client config can use your tunnel.
Phase 2: The Travel Router Client
Step 1, Add the WireGuard client profile
On your travel router (GL.iNet Beryl AX or similar): VPN → WireGuard Client → Add → paste the client config or upload the .conf file. The router parses the server endpoint (your DDNS hostname), keys, and allowed IPs automatically.
Step 2, Enable the kill switch
This is non-negotiable. In the router's VPN settings, enable "Block non-VPN traffic" (the kill-switch option). If the tunnel drops, the router blocks all traffic rather than letting your real hotel IP leak. Test it: connect the tunnel, then stop the server side (or block the port) and confirm you lose internet rather than leaking.
Step 3, Set DNS to go through the tunnel
In the router's DNS settings, disable "DNS rebinding" workarounds you don't need and set DNS to resolve through the tunnel, either your home router's DNS or a trusted public resolver reached via the tunnel. This prevents DNS leaks that would reveal your real location to anyone watching queries.
Step 4, Connect to local Wi-Fi in repeater mode
At the hotel: use the router's Repeater mode to join the hotel Wi-Fi. Complete the captive portal login once through the router. All your devices then join the router's own Wi-Fi network, already tunneled, already protected.
Step 5, Run leak tests
Before trusting the setup with work:
- IP test: Confirm the IP and city shown are your home ones.
- DNS leak test: Run a before/after test, with the tunnel up, all DNS servers shown should be your home-side resolvers, never the hotel's.
- WebRTC test: In your browser, confirm no real local IPs leak.
- Kill-switch test: Kill the tunnel and confirm traffic stops, not leaks.
Ongoing Maintenance
A dual-router setup is largely set-and-forget, but check in occasionally:
- Firmware: Update both routers a few times a year; WireGuard and security fixes matter.
- DDNS: Glance at the hostname every few months to confirm it's updating.
- Backup configs: Keep encrypted copies of your client configs, losing your phone abroad shouldn't mean losing access.
- Fallback plan: Keep a second client profile (e.g., a cheap VPS) on the travel router in case your home internet has an extended outage.
Frequently Asked Questions
Do both routers need to be the same brand?
How much does the home router cost to run 24/7?
Can I use this setup with devices that can't run VPN apps?
What internet speed do I need at home?
What if my home IP changes while I'm traveling?
Is WireGuard the only protocol option?
Need help setting this up?
Two routers, port forwarding, DDNS… it's a lot of moving parts the first time around. We build these setups for clients every week. Hand it to us and it'll just work: https://homeipvpn.com.