CLIENT SETUP
How to Connect Your Phone to Your Home IP VPN
Your phone does more sensitive stuff on a trip than your laptop: banking, 2FA codes, maps, messaging. Getting it onto your home IP VPN is worth the ten minutes
✓Pick your approach✓WireGuard app: QR code or file✓Verify, then automate
Quick Answer
The fastest path is the WireGuard app: scan your home server’s QR config, activate, and confirm your IP shows home. Behind CGNAT, Tailscale is easier; with a travel router, join its WiFi and skip per-phone setup. HomeIPVPN supports all three approaches.
- QR import: Tap plus in the WireGuard app, scan the config your home server generated. About two minutes.
- Tailscale: Install on both ends, advertise the home device as an exit node, approve it. No port forwarding needed.
- Router shortcut: A phone on the travel router’s WiFi inherits the tunnel with zero battery impact, and it covers tethered devices too.
- Verify: An IP-check site should show home, a DNS leak test should show home resolvers, and WebRTC should reveal no local addresses.
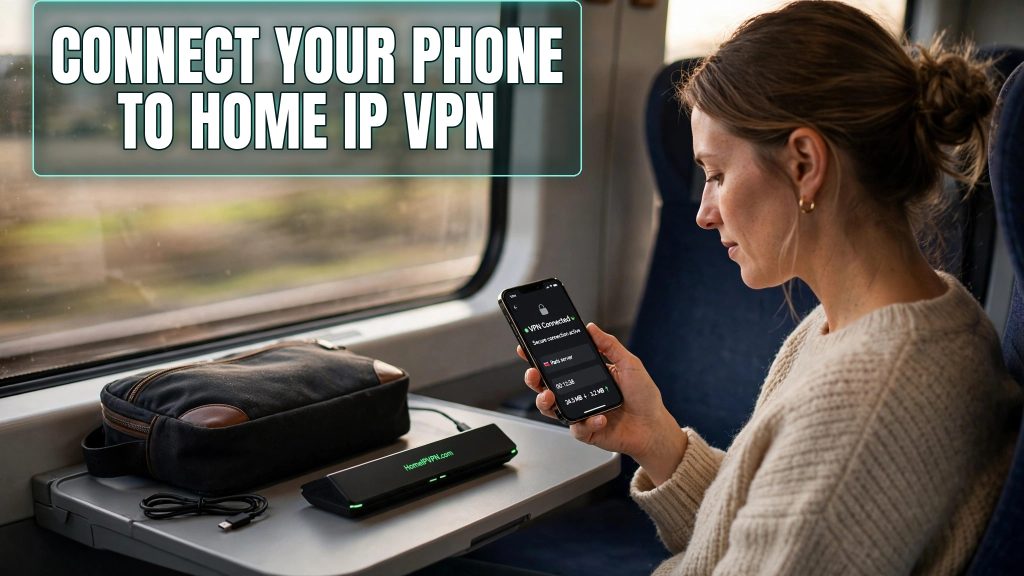
Your phone does more sensitive stuff on a trip than your laptop: banking, 2FA codes, maps, messaging. Getting it onto your home IP VPN is worth the ten minutes it takes. Here's how to connect your phone to your home VPN, three ways, from simplest to most robust.
Pick your approach
| WireGuard app | Tailscale | Travel router | |
|---|---|---|---|
| Home needs port forwarding | Yes | No (NAT traversal) | Depends on home setup |
| Setup effort | QR scan, 2 minutes | Login on both ends | Already configured once |
| Battery impact | Minimal | Minimal | Zero (router does the work) |
| Survives CGNAT | No | Yes | Depends on home setup |
| Covers tethered devices | No | No | Yes |
If your home server already runs WireGuard with port forwarding, the app is the direct path. If you're behind CGNAT, Tailscale is the path of least resistance. And if you travel with a router (you should), putting the phone behind it is the laziest correct answer: one tunnel, every device, router-grade kill switch.
WireGuard app: QR code or file import
QR method (my preference):
- Generate the phone's client config on your home server. GL.iNet panels and the
qrencodetool can render it as a QR code right on screen. - Install the WireGuard app (free, iOS and Android), tap +, choose Create from QR code, and scan.
- Name it "Home," save, and allow the VPN permission prompt.
File method: export the .conf, move it to the phone securely (AirDrop, USB cable, encrypted message to yourself; avoid emailing private keys in plaintext), then + → Import from file in the app.
Tailscale method: install the app on your phone and on the home device, log in with the same account, advertise the home device as an exit node (tailscale up --advertise-exit-node on Linux, or the toggle on other platforms), approve it in the admin console, then select it as the exit node on your phone. No port forwarding involved at any step.
Verify, then automate
Verify before trusting it. Tunnel on, then: an IP-check site should show your home IP and city; a DNS leak test should show home resolvers, not the local carrier's; a WebRTC check in mobile Safari/Chrome should reveal no local addresses. Thirty seconds, and you know it's real.
Automate it so you can't forget:
- iPhone: in the WireGuard app, edit the tunnel and enable On-Demand. Set it for any WiFi except your home network, plus cellular. From then on the tunnel engages itself the moment you leave home. Best single setting in this whole guide.
- Android: in system Settings → Network → VPN, enable Always-on VPN for the WireGuard profile, plus Block connections without VPN. That second toggle is Android's built-in kill switch. Turn it on.
- Tailscale: exit-node selection persists in the app; check its always-on options too.
One gotcha: on-demand VPN and hotel captive portals fight. The tunnel can block the hotel's login page from loading. If the portal won't appear, pause the tunnel, complete the login, re-enable. Ten seconds of annoyance, then you're protected.
It's also worth deciding what "on-demand" means for your trip. On iOS you can exclude specific networks (your home WiFi, a trusted friend's) so the tunnel stays off where it's pointless, and enable it for everything else including cellular. That granularity is the difference between a VPN you tolerate and one you forget is even there. Review the rules once per trip; hotel networks change, your exclusions shouldn't need to.
Quick questions
Will this kill my battery?
Does the VPN cover my hotspot tethering?
Do banking apps work through it?
Should it stay on all the time abroad?
Phone lost or stolen with the config on it?
Need help setting this up?
We do phone configs properly: QR-code provisioning, on-demand rules, and leak tests verified before you fly, as part of our done-for-you home IP VPN setup. https://homeipvpn.com.